Blog

Painting Wild Style: Scythe and Heroes, first paint (part 4)

I had a few minutes to start on the Heroes Undead faction last night.

I first used a few drops of plain old white from Army Painters and added a few drops of water and flow enhancer to make a wash of white.

IMG_0480

This paint, as you can see, is almost a wash. I want it to cover the white and leave the black undercoating showing a bit. As this is white, that is a bit hard to do. I mix the flow enhancer with water and put it in a small bottle now (20 to 1 from the instructions–I am more 10 to 1).

IMG_0481

I then use the Army Painter’s regimental brush to paint with. This lets me get done faster as the brush covers well and prevents me from trying to do crazy detail and just gets the base on. I will use the larger brush to get the pain on the figure. I did not do the warriors–just simply missed them.

IMG_0482

The paint is hard to see on the black and white primed figure.

I then painted the first coat of pale sand on the bases (Vallejo Pale Sand 70.837). I did not mask the surf and warrior bases as they are just too many. I will need more than one coat. As this was also the first time I had used this paint, it was too runny for my tastes, and I ended up dump 1/8 of the paint and finally got something workable. It will take about three coats to the base as the color does not cover black well.

IMG_0484

I did then remember to paint the warrior bases. I plan to paint black on the edges for the warriors to make them clearly identifiable. Thus the surfs will be on painted bases, characters will be natural plastic with maybe a name glued on edge, and the warriors with black side on their base.

So just getting started. Have not started on the other figures, D&D and Scythe characters.


Painting Wild Style: Scythe and Heroes, dry brush white (part 3)

With the undercoat on and the white over top spray (sometimes called the zenithal shading for creating a light effect that is directly overhead) on, I now extend the effect by dry-brushing white on the exposed surfaces. I  will use dilute paints later, and this will show the white a bit and thus create highlighting without much effort. The dark areas will likely stay dark. It saves work, and I think it makes the figures “pop.”

Here is the wraith after and before image.

Sorry about the blur, the left side is dry brushed. The right is just zenithal shading.

The trick is to not get too much paint on the brush and to keep brushing when there is almost no paint to bring forward the edges.

I use a brush from Army Painter for this. And I use mostly their paints for figures and even military models. I like the shades of their primary colors.

IMG_0471

Here are the Scythe characters and the brush I use.

IMG_0472

Two Bones figures I added to my work for this painting run.

IMG_0474

And all of the Heroes Undead faction figures. I have seen some excellent Army Painter system for these. I will see how I do with this process and see if I feel like the faction paints fast enough using this and looks good. I picked the Undead as they are simple; they are dead.

Before painting, I made copies of the Heroes Undead faction character cards and play board so I can have something to paint from. I have also printed copies of the art for all the Scythe figures. So I am ready for the painting now that all the masking, prep, and shading is in place.

So next update will be painting colors over my shading.


Painting Wild Style: Scythe and Heroes, undercoat (part 2)

I had time today to start the undercoat painting for the figures.

For the figures with masking problems, I used a scalpel (I stopped using modeling knifes a long time ago–the scalpels are much faster, and I think safer. See Scalpel) to cut around the feet and tweezers to remove the extra masking. I did rip the mask a bit. I painted some more of the Micro Masking fluid on and that fixed them all up. I also used the tweezers to remove a few spots where I had splatter some masking fluid on in error.

I stick the figures down to a light wooden board. I use basswood sheets. They are leftover from some modeling projects. I use poster wall stick to temporary hold the figures to it. It is essential that I can turn them every which way to spray on the paint–so I use a bit extra on heavier figures. I also wear gloves–I have disposable gloves. I can then spray over my hand. Today I took the gloves off too early and my left hand is whiter than usual.

IMG_0463

I had to do this in two batches. The second batch is mostly masked figures.

IMG_0467

I then spray the figures totally black. See Chaos Black and White primer.

IMG_0468

Once that is dry, no time in our 80F+ day, I spray a light primer of white color straight down to create a 3D look. I also lean the figures left and then right (always having them face the same way when I put them on the board) and spray a quick bit more. This really does a lot of the work for you.

IMG_0464

Here is Heroes Undead Wraith with just this spray paint.

IMG_0466

So I will now take the night off from these figures and let everything dry overnight.

There are not a lot of figures to do!

IMG_0469

That is about 2/3 as not all fit in the frame!

Painting Wild Style: Scythe and Heroes, prep

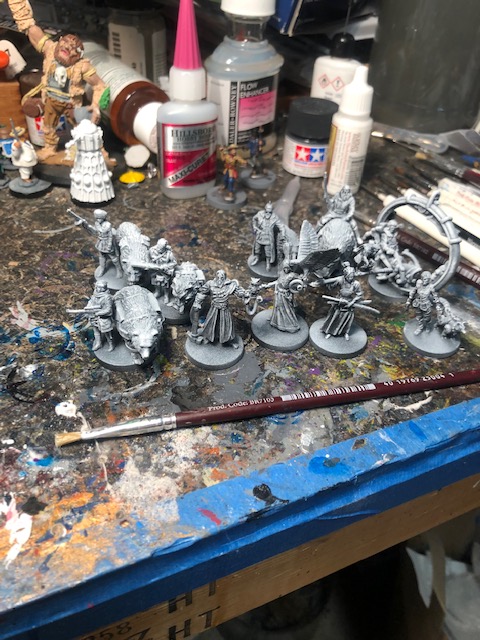
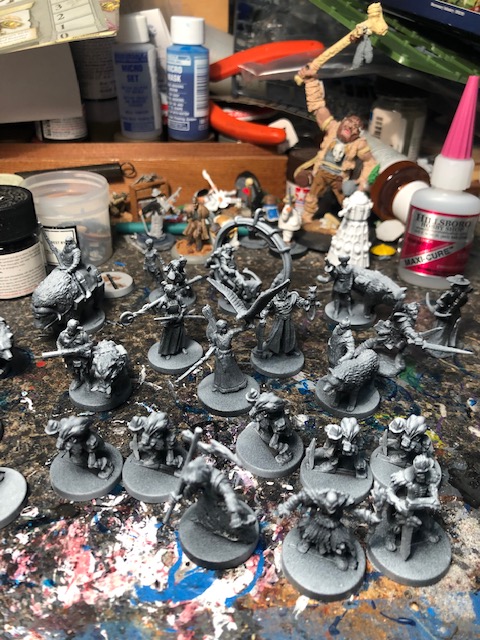
This will be my first blog series on the painting of miniatures, about 28mm scale (meaning from feet to eyes a human figure would be 28mm–as I understand it). The Scythe characters are 28-32mm and a bit elongated by the artist to stand out on the board. The Heroes of Land, Air, and Sea are 28mm or close enough and are oddly hunched a bit.

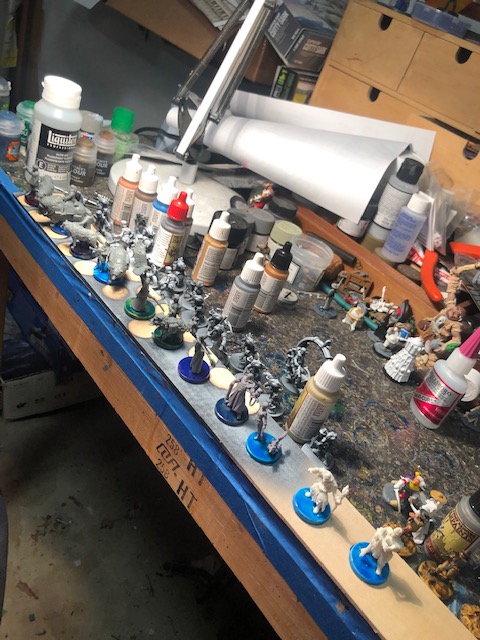
First, is to select the figures all usually about the same size. I find it easier to do about the same sized figures at the same time. The surface area increases with the cube and so larger figures take more and more paint, and I like my figures to progress about the same speed. It is just a mental thing for me.

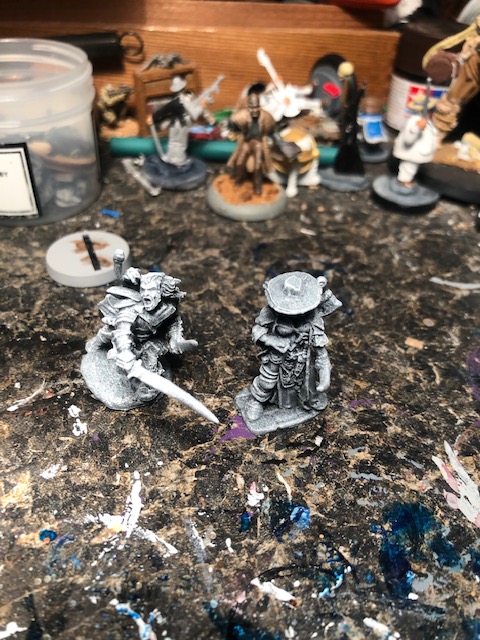
Next, wash the figures with dishwashing soap and warm water. I will skip this on fragile figures or ones that must be assembled and hope the primer will handle any “sins.” Surprisingly the Scotts figure from Scythe broke when it fell to the floor when I was drying them with a paper towel. Oops–no way to start! The break was very clean, so I was able to use cyanoacrylate glue from our local hobby store. I used the slow curing thick version for two reasons: It is easy to work with, and it does not run down the bottle onto my hand and glue me to the bottle. I used the tiny swabs you buy at hobby stores (over-priced!) to apply the glue after I put a few drops on a bottle lid. I use spaghetti cause lids for disposable trays and put my paint one drop at a time in them. After the fix, you cannot see the break. I was worried that I would have to drill and pin the parts to make the piece usable, but no it is fine.

After that near-tragedy, I carefully let the piece air dry, and then started the masking.

IMG_0459

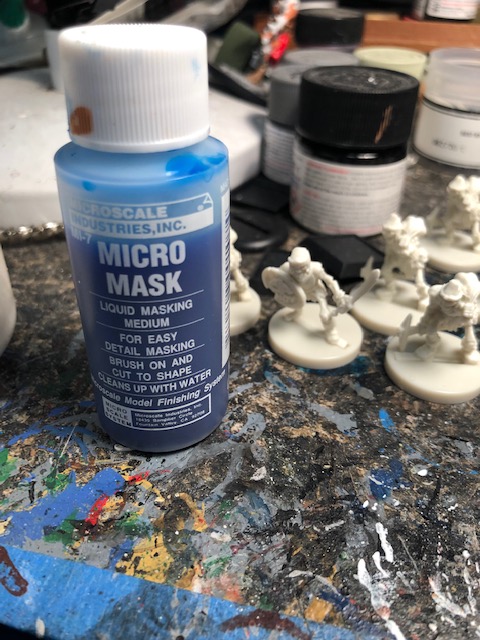
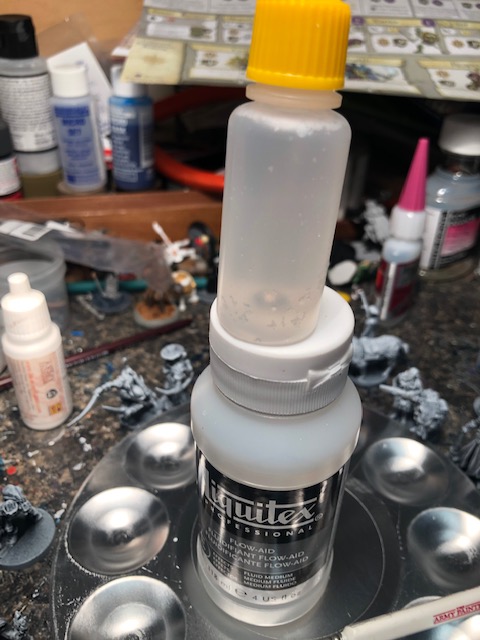
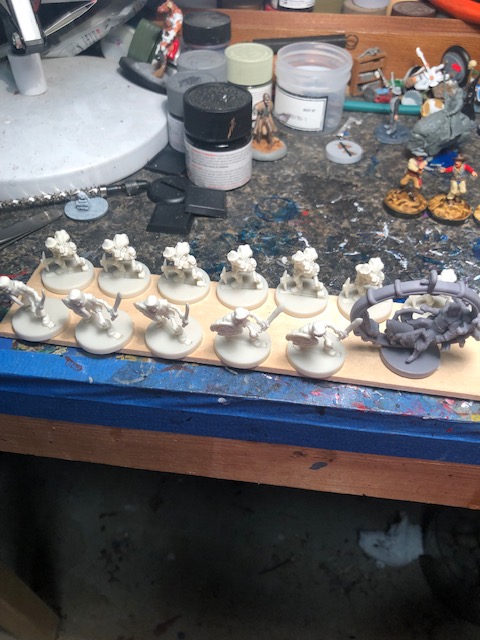
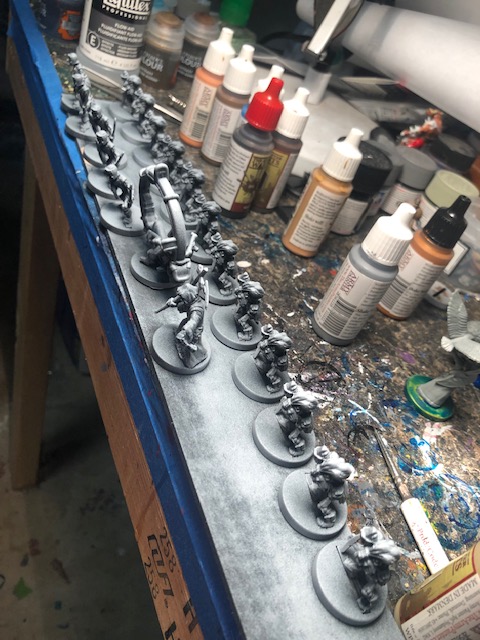
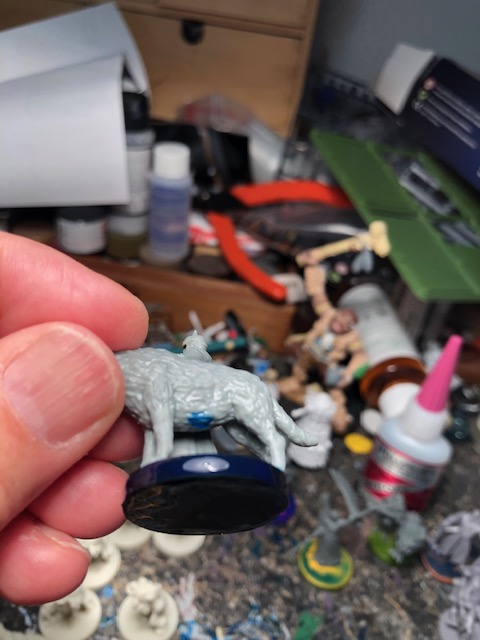
I use Micro Mask to mask the bases of some of the figures. In Scythe and Heroes, the base color identifies the faction. These are colored plastic with the figures strongly attached to same. The painter can mask or repaint the base. I did the repainting option for my first time painting Scythe miniatures, but I managed to mask the plastic for the add-on figures for Scythe (see Rise of Fenris) and was able to mask for another Scythe set I made for a friend. So I will use Micro Mask.

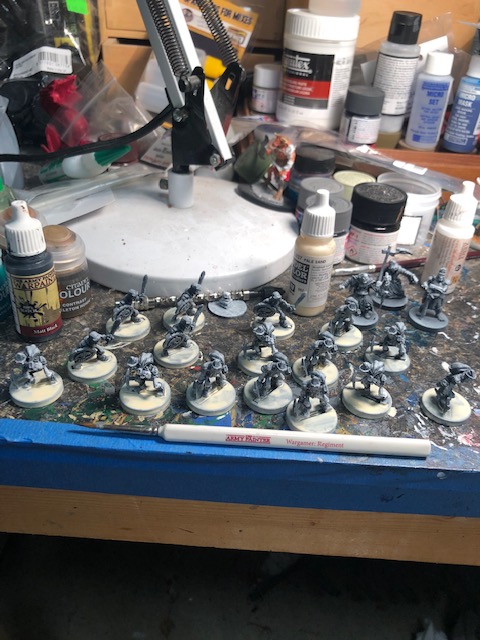
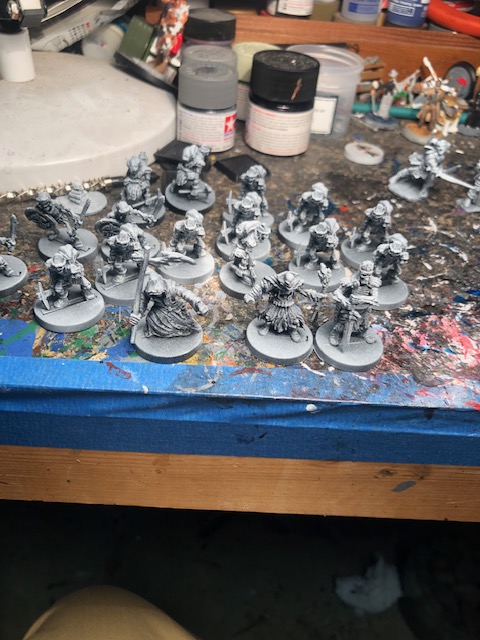
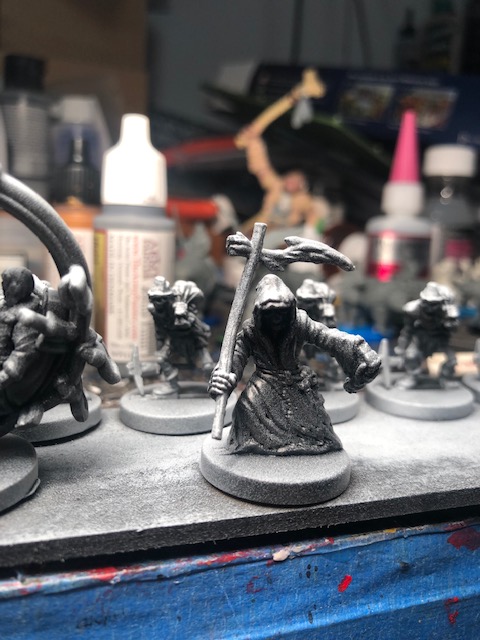
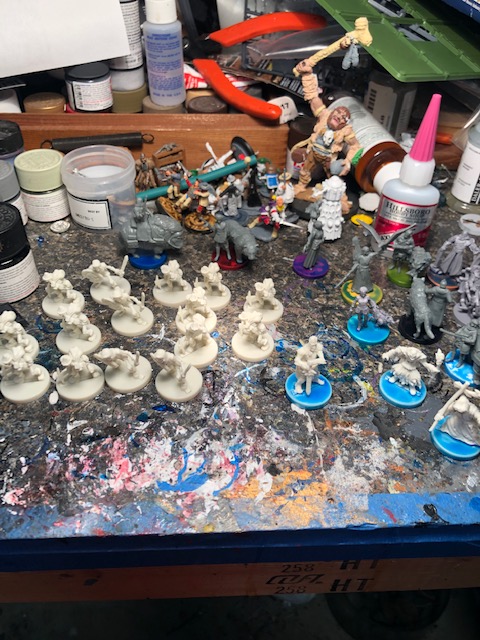
We are also doing the Undead for Heroes, and there are too many figures to mask, so I will mask the bases of the main characters and repaint the surfs and warriors figures bases. This works as I plan to devise a clear way to identify warriors and surfs from characters. I find this an issue for the undead and lizard factions of Heroes. It is likely I will put an ‘S’ and ‘W’ on the bases. I was also thinking of painting a black ring on the warrior base, so it is effortless to tell apart from the surfs and the characters.

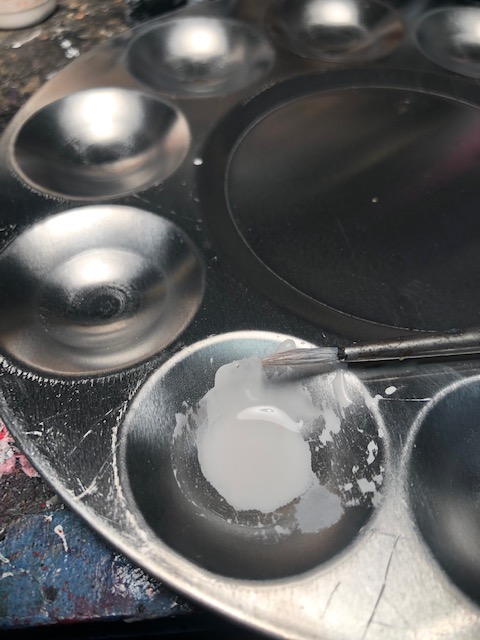
The bases are painted with the masking fluid with an Army Painter regimental brush. I use their brushes as they are always the same. I find other brushes vary in function. Army Painter Insane Detail is just perfect as is the regimental brush.

IMG_0458

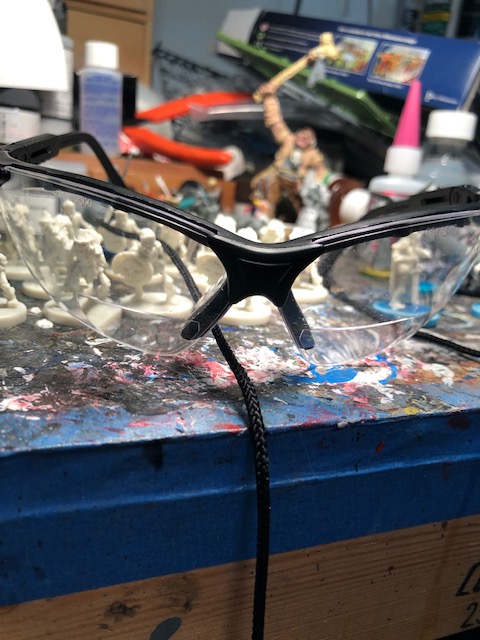
I wear eye protection at all time. This is safe, and my eye protection has 3x bifocals too. This makes the painting so much easier. I also have a halon light in my bench light to see natural colors better.

IMG_0460

The mask will dry hard in a few hours or even a day if thick. It gets all over if you are careless. Let it dry and then use good tweezers to remove any misses. It is water-soluble and hard to remove when wet. I just let it dry.

IMG_0462

If you get some of the masking fluid on the feet of the figures, you can try to cut it off when dry and use tweezers to remove it, but that is very difficult without destroying the mask. I just have some undercoat I can paint on, and I paint it on with a tiny brush and then lightly repaint the feet.

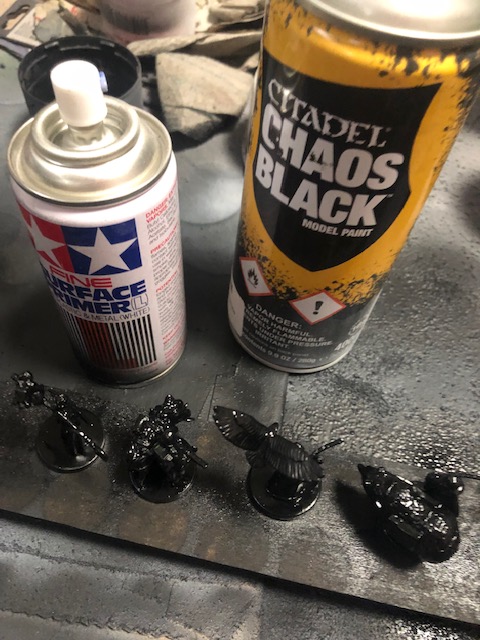
As I have noted, the mask is water-soluble, so I will paint it on now before we prime. The primer is a can-sprayed black and will lock the masking fluid in place.

Lastly, I have lacquer thinner to clean-up and misses on masking later. I had to remove a bit of primer on Saxony Scythe figure under the wolf last time.

So later today I will prime. So that will be the next entry.